Yesterday I wrote a bit about how fussy Yotam Ottolenghi can seem when writing about his recipes in his book, Plenty. So fussy that it would almost put me off trying some of his recipes, actually. But I decided to give myself a challenge and see if I could do his Marinated Buffalo Mozzarella and Tomato any justice using bog-standard, supermarket-bought ingredients. After all, I figure that this is what most people will end up using. I actually went one step further and bought the cheapest mozzarella I could find, just to be bad! (Um, ok, and to save money...) So I tried this recipe using Tesco Everyday Value mozzarella and Tesco 'juicy cherry tomatoes' (that's what the box said they were!). All other ingredients were for the marinade, and I had all of these on hand, with two exceptions. I had no lemon to get lemon zest, so instead I opted for a splash of lemon juice from a bottle (shock! Horror!), and I didn't have any fresh oregano, so I used dried instead (remember to always reduce the quantity if you're using dried herbs as an alternative to fresh, as the flavours are intensified).
Now, I have to give top marks to Mr Ottolenghi on the simplicity of this recipe. It really is extremely easy to prepare and takes hardly any time (if you don't count the 15-30 minutes' time that the mozzarella is to sit in the marinade - which I don't). I'll give you a quick run-down of how I made this, so you can get an idea of just how easy-peasy it really is.
 |
| My makeshift mortar and pestle! |
The first step is to dry-fry 1/2 a teaspoon of fennel seeds until they pop - at this point, transfer to a mortar and pestle and crush the seeds. I don't have a mortar and pestle (hint hint, if anyone wants to buy me a present!), so I just crushed the seeds with a teaspoon in a ramekin (but any small bowl could be used), and this worked very well. Tip into a small bowl (if you have crushed the seeds in a bowl rather than a mortar and pestle, then obviously just keep them in that bowl, and congratulate yourself on saving on a bit of washing up) and add the following ingredients: grated zest of one lemon (or a splash of lemon juice), 15 finely chopped basil leaves, 2 teaspoons of chopped oregano (or 1 teaspoon of dried), 2 teaspoons of extra virgin olive oil, 2 teaspoons of rapeseed oil, 1 garlic clove (crushed), 1/2 a teaspoon of sea salt, and black pepper. This is your marinade.
 |
| The marinade |
Ottolenghi suggests ripping the mozzarella (250g) into chunks and then smearing these with your marinade. But to me, it makes a lot more sense to just add the mozzarella chunks straight into the bowl and mix it up a bit to ensure all the mozzarella is covered by the marinade. That way, no marinade is wasted and also it's a less messy process. Win-win!
You then let the mozzarella sit in the marinade for 15 to 30 minutes, then chop your tomatoes into wedges and serve together with the mozzarella. The recipe suggests drizzling with extra olive oil, but I didn't do this, partly because I was so excited to try out the salad that I forgot (oops) and partly because I don't really feel it needs any extra oil.
 |
| Mozzarella in the marinade |
So what was the verdict? I really enjoyed this. I had originally intended to taste some tonight so I could blog about it and take the rest into work for my lunch tomorrow, but it was so good that I gobbled it all up! (I hasten to add at this point that I had only made a half portion, so although I am greedy, I'm not as greedy as it may have just sounded.) The fennel really shines through and gives the dish an unusual taste, and it looks beautiful, with all the ripped up basil (and I'm sure if you had fresh oregano it would only look even better).
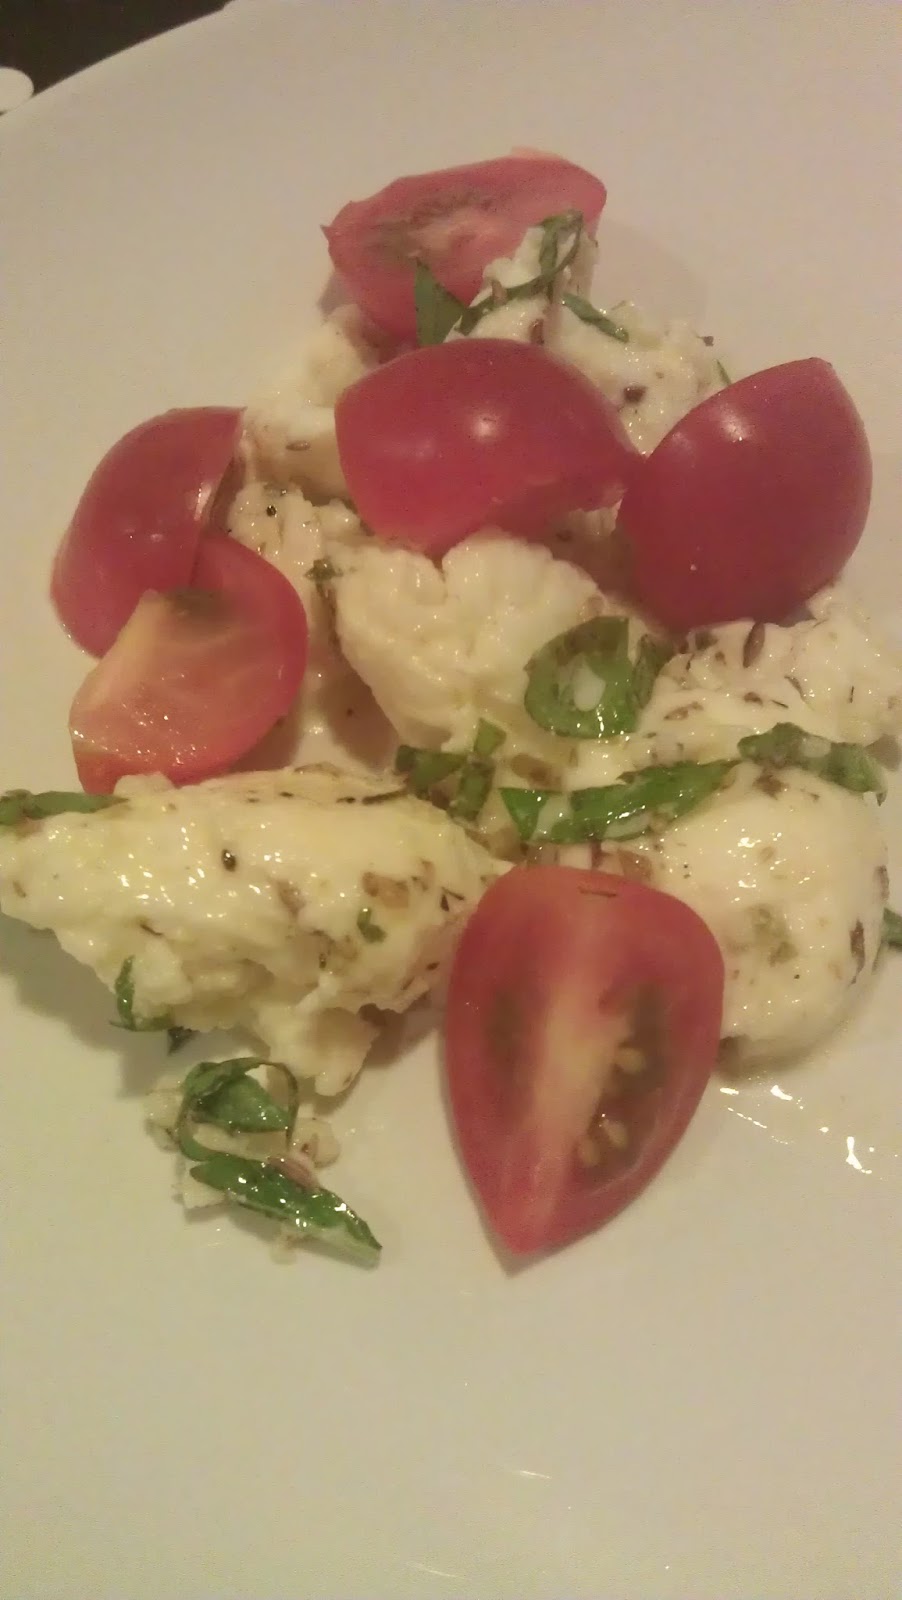 |
| The finished product - delicious! |
But what about the 'poor' quality of my ingredients, I hear you cry! Well, I have to say, that with the mozzarella the star of this dish, I might buy slightly better quality cheese next time. But it would all depend on the occasion. If it were just to be a lunchbox filler, I'm quite happy with the cheap mozzarella - it tasted nice enough to me. But if I were serving it to guests, I'd probably prefer to know I was serving slightly higher quality fare. And the tomatoes? Actually, I really enjoyed my straight-from-the-fridge tomatoes in this salad! Yes, I'm sure it would be absolutely delicious with a lovingly homegrown fruit instead, but honestly, I wouldn't waste any time or money searching for the perfect tomato for this recipe. Go with a type of tomato that you enjoy, and you'll be fine. I am not a huge fan of regular-sized tomatoes, so tend to substitute the sweeter cherry tomatoes in a lot of dishes that call for ordinary tomatoes. So doing the same here worked just fine.
 |
| Marinated mozzarella and tomato |
I am hoping that perhaps I can get some tomatoes growing in my wee patch of garden next year, so perhaps at that point I will try this recipe with home-grown tomatoes instead and see what I think, but I can't imagine it making
that much of a difference. What do you think? How important is the quality of ingredients to you? And does anyone grow tomatoes (or anything else that could grow well in a pot in the harsh Scottish climate) that could give me some tips? (I'm not the most green-fingered, but I am enthusiastic and hope I will learn quickly!)


